|
|
Post by Samb1011 on Oct 14, 2013 14:43:37 GMT
I might see if Keith will come over here for the hard stuff. He is really good at that junk. Lol
|
|
|
|
Post by balbrecht on Oct 16, 2013 23:33:28 GMT
Thanks wiggin. My plan is to just make the body, and buy a neck later on. I don't have the skills to make a neck yet.
|
|
|
|
Post by balbrecht on Nov 1, 2013 14:11:23 GMT
The more and more I'm looking at prices, the less and less I think this is possible. I just don't have the cash.
I'm lookin' at spending at LEAST $300 right now, and it would all be out of my pocket.
I don't have much doubt that I couldn't put the guitar together, but the hard part is buying everything I need.
|
|
Deleted
Deleted Member
Posts: 0
|
Post by Deleted on Nov 1, 2013 14:15:49 GMT
Why don't you try really starting from scratch. That'd save money/
|
|
|
|
Post by balbrecht on Nov 1, 2013 17:30:22 GMT
Because I can't go takin' down trees. It's not the way things work over here.
|
|
|
|
Post by Ryan on Nov 1, 2013 17:31:17 GMT
Bal, I started from scratch building a body. I still haven't finished it, lol. But, I'm not here to talk about how I didn't finish it.. I'm here to offer encouragement. I spent 11 days doing what I'm going to show you I did.. And I only spent about 1-2 hours a day working on it. Let's start from the top, shall we? It all started with an old solid maple headboard with some outlines drawn on it.  Then I started cutting those outlines out, with a band saw. 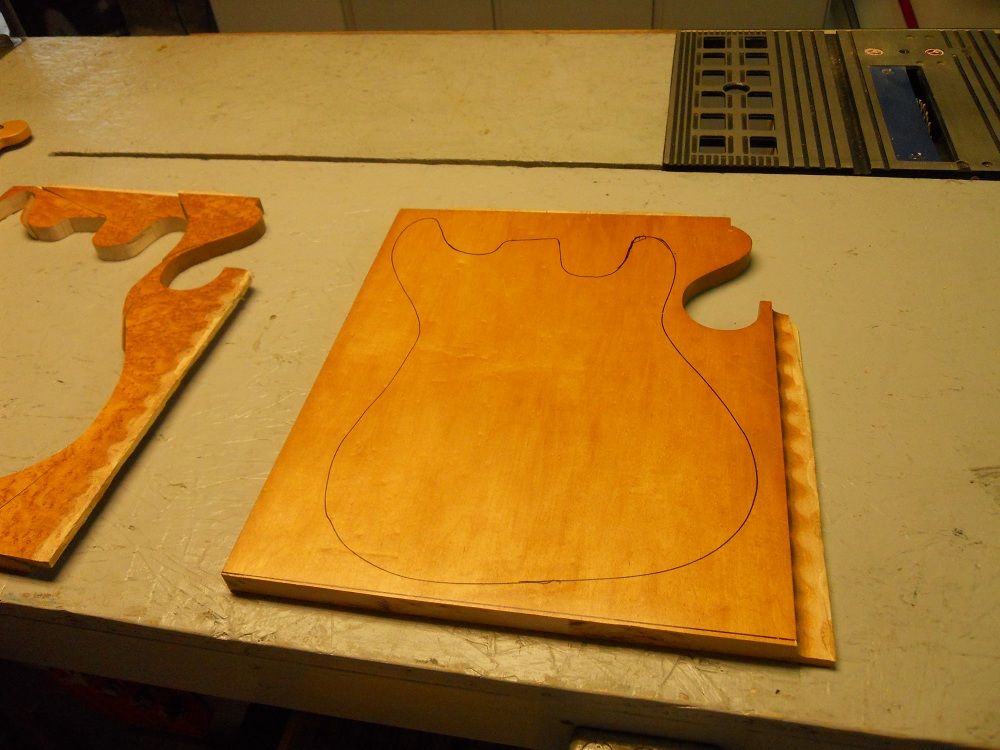 I had to strip the clear finish off of them before I would glue them together. 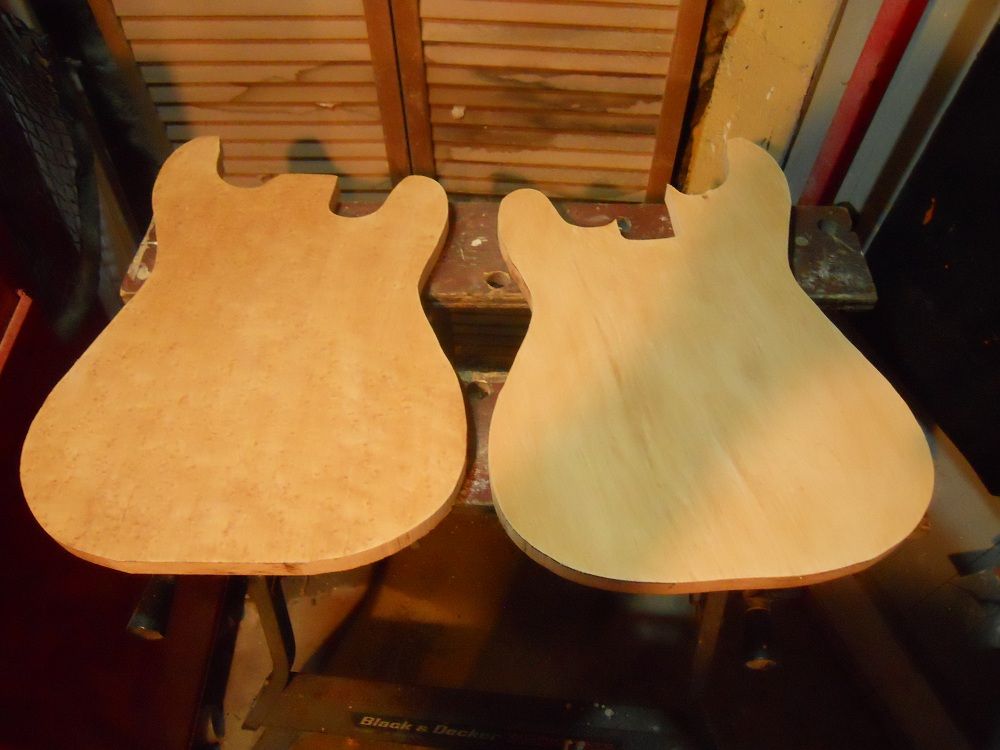 Here it is, getting ready to sit for 24 hours. A long 24 hours, I should add.  Here she is, all glued together and uneven. 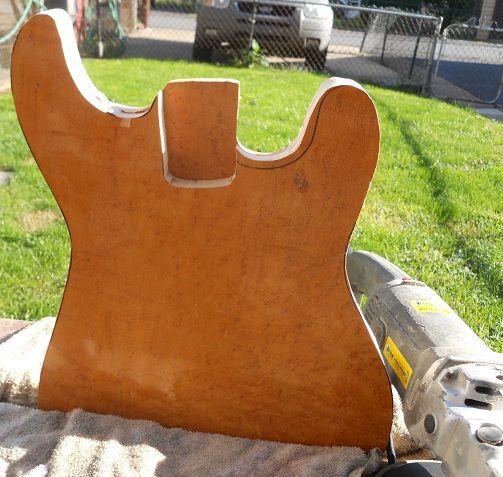 Then, it was time to take the sander and rotary buffer with a sandpaper attachment to it. This one is of the front, for the forearm cut. 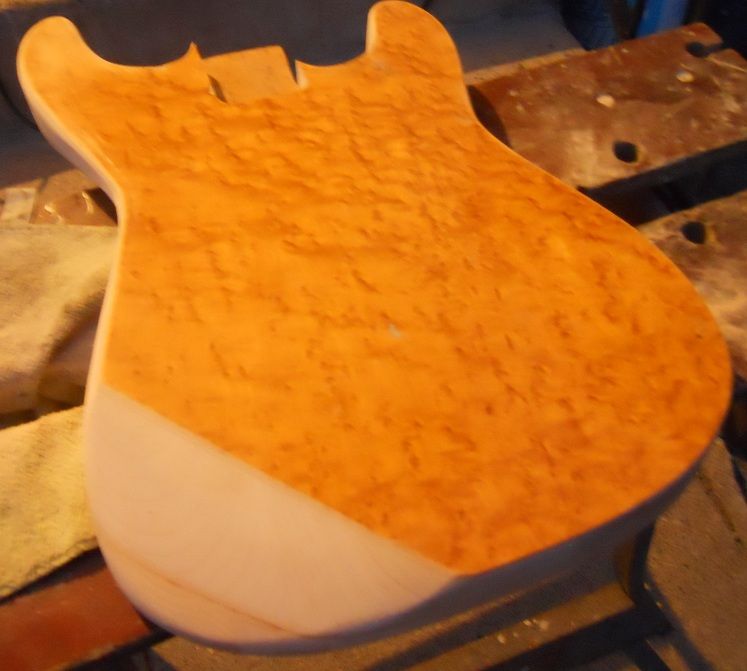 The back, for the tummy cut.  Picture or two, to show the rounded edges. 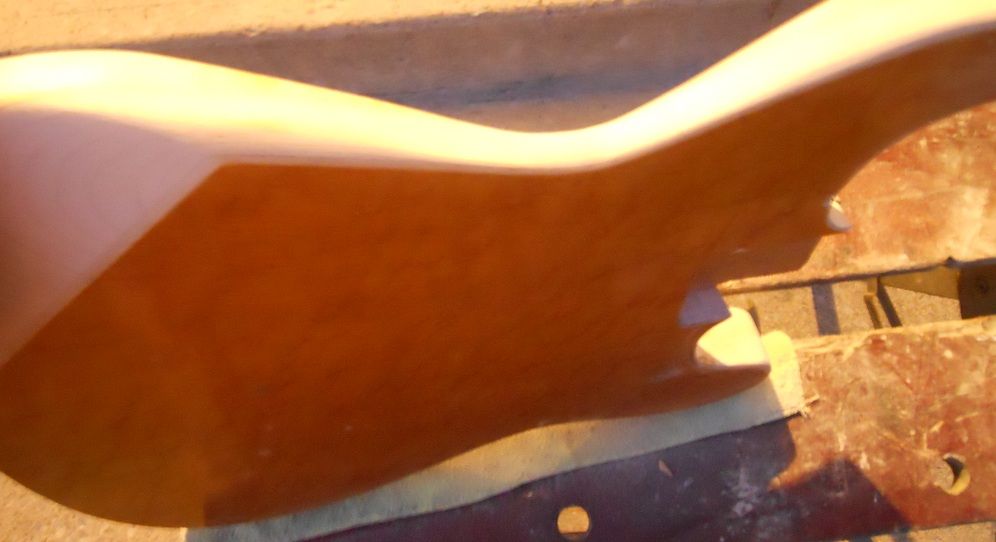  The next day, I took the clear off the front and back, and worked on smoothing rough spots out. Couple picture of this days work.  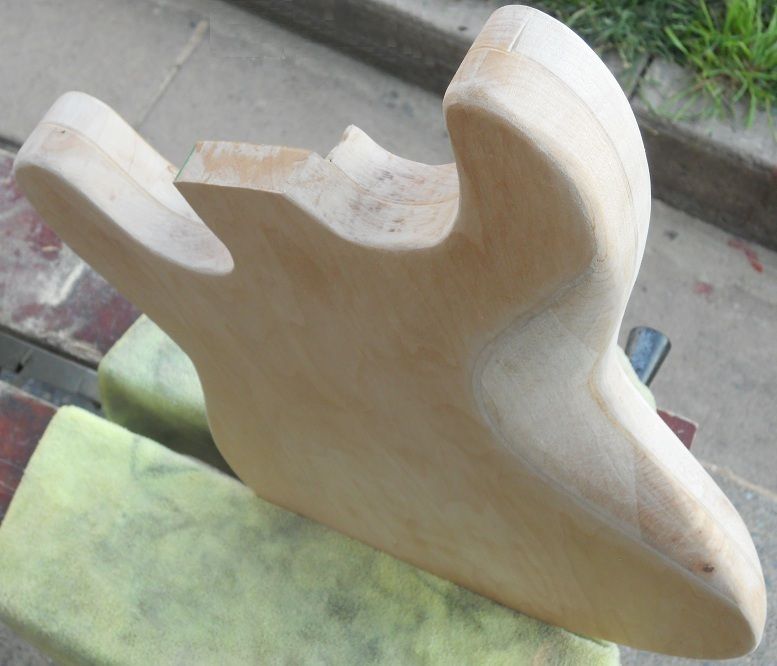 Next step was to route out pickup cavities and the control cavity.  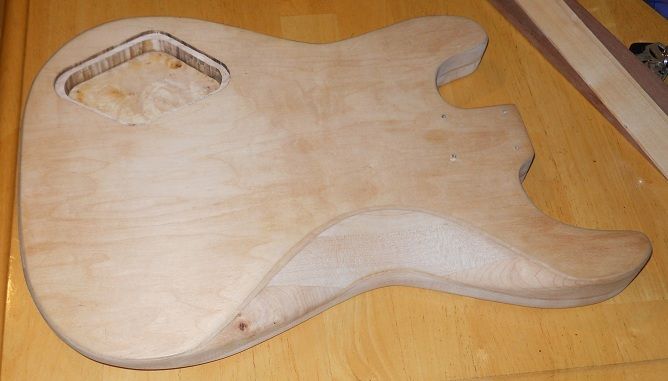 Dry run of the pickups and control cavity plate.  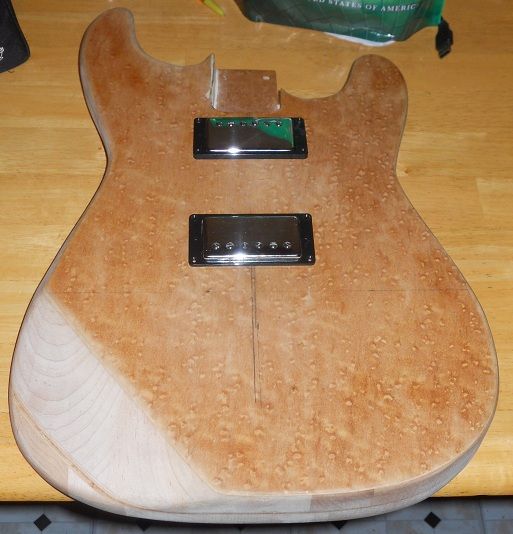 That's as far as I got. Took me 11 days, $50, and a little work. The pickups were free. I haven't touched it since. Perhaps one of these days I'll get the body done. Then I'll just need a neck. |
|
Deleted
Deleted Member
Posts: 0
|
Post by Deleted on Nov 1, 2013 17:31:31 GMT
Haha, I meant if you made the neck yourself, etc..
|
|
|
|
Post by peterwiggin on Nov 1, 2013 19:20:03 GMT
so, how did you go about laying out the neck pocket? what method will you use to align the bridge?
|
|
|
|
Post by Ryan on Nov 1, 2013 19:44:38 GMT
so, how did you go about laying out the neck pocket? what method will you use to align the bridge? Well, to get the size, I took measurements off of a Strat neck. After the outline of the guitar was cut out, I more the less eyeballed it. Half of the reason I glued the pieces of wood together the way that I did, was because it was the perfect measurement of the necks thickness.. Which is 3/4" without the fretboard. After I had an idea of where the neck pocket would be placed.. I measured the waist of the guitar, and the widest point on the guitar and found center between the two and marked off the 2 spots. Then I traced a line up to the neck pocket to double check where my guess was. I was only off by 1/16th of an inch.. On a guitar though, that's a BIG 1/16th of an inch. I resketched my neck pocket, and routed it out before gluing the 2 pieces together. After together, sand everything down, yada yada yada.. Those 2 points that I marked off earlier, I made sure to keep them on the guitar so I kept my center mark. I fit in a Strat neck I have laying around and measured down the 25.5" scale and marked that off. Using my center line, I used the dimensions of my hardtail that I'm going to be putting on that.. And figured center from there.. Then found out where the strings leave the saddle, and moved it accordingly to 25.5" from the nut. Hope that helps! |
|
|
|
Post by peterwiggin on Nov 2, 2013 0:45:00 GMT
i was just curious as to your method. to me that's the interesting part
|
|
|
|
Post by Ryan on Nov 2, 2013 15:12:49 GMT
i was just curious as to your method. to me that's the interesting part Yea, I'm sure there are probably 20 different ways you could go about it. Always interesting to find out what methods someone uses to build something. Personally, I don't think I'll be a big master guitar builder.. However, I do plan on going back to school for some sort of electrician degree.. Because my heart lies in building amps.. And no time better to go back to school then while I'm young yet. |
|
Deleted
Deleted Member
Posts: 0
|
Post by Deleted on Nov 2, 2013 15:57:07 GMT
I've made one cigar box guitar almost, and the advice I give to you is; wood filler is your friend.
|
|
|
|
Post by Ryan on Nov 2, 2013 18:13:28 GMT
Anywho, balbrecht. I hope you got help/encouragement so far! If you decide to do this.. And you need ANY help what-so-ever.. Inbox me on here and I'd be glad to give you any help/info that I can. |
|
|
|
Post by balbrecht on Nov 2, 2013 18:40:33 GMT
Thanks Ryan!
I looked into prices yesterday. It looks like, with shipping, everything's gonna cost me about $400.
Unless I can get the school to help out a little bit. But I doubt it.
|
|
|
|
Post by balbrecht on Nov 2, 2013 20:08:37 GMT
So, with the help of Ryan, I though of some ways to cut costs on this. If i can get a parts guitar for cheap, and I can find some lumber somewhere, the cost will go down to about $165, not including shipping. Do any of you guys know where i can find a routing template for a strat? The only one I can find is $70. |
|